Mastering the Art of Grout Removal and Whitening.
Looking to transform your bathroom or kitchen tiles from drab to fab? The first step is removing that pesky old grout. But what happens when your grout is a hot mess of stains and discoloration? Fear not! You can still achieve that fresh, brand-new look with a few tricks up your sleeve.
In this article, our team at Fresh Home Cleaning will guide you through the process of learning how to remove grout and whiten it, leaving you with a sparkling finish that will make your tiles shine like never before.
- Mastering the Art of Grout Removal and Whitening.
- Why You Should Remove and Whiten Grout
- Materials Required
- Step-by-Step Guide:
- 1. Protect yourself and your surroundings
- 2. Prepare your tools
- 3. Remove the old grout
- 4. Clean up the area
- 5. Apply the grout whitener
- 6. Clean up the area (again)
- 7. Seal the tiles (optional)
- Choosing the Right Grout Whitener
- Whitener for Grout
- Some Extra Tips and Tricks
- In Summary…
- See more cleaning guides
Why You Should Remove and Whiten Grout
Over time, grout can become stained and discolored due to everyday wear and tear, spills, and general dirt buildup. Not only does this make your tiles look dirty, but it can also lead to mold and mildew growth. Removing old grout and whitening the new grout can improve the appearance of your tiles and make them easier to clean. It can also help prevent mold and mildew growth, which can be harmful to your health.
Materials Required
Before we get started, you will need the following tools and materials:
- Grout saw or rotary tool with grout removal attachment
- Safety glasses and a dust mask
- Plastic sheeting or drop cloth
- Grout removal bit for your rotary tool
- Grout scraper or putty knife
- Grout haze remover
- Cleaning brush or sponge
- Clean water
- Tile sealer (optional)
- Grout whitener

Step-by-Step Guide:
Our cleaning experts at Fresh Home Cleaning created this step-by-step guide for our readers to neatly learn everything they need to know about how to remove grout. So read on and become a specialist!
1. Protect yourself and your surroundings
Before you begin, wear safety glasses and a dust mask to protect yourself from flying debris. Lay plastic sheeting or a drop cloth around the area you’ll be working on to make cleaning up easier.
2. Prepare your tools
If you’re using a grout saw, make sure the blade is securely tightened. If you’re using a rotary tool, attach the grout removal bit. You can also use a grout scraper or putty knife to remove the grout.
3. Remove the old grout
Begin by using the grout saw or rotary tool to cut into the grout lines. Be careful not to damage the tiles themselves. Once you’ve made a groove in the grout, use the scraper or putty knife to pry up the old grout gently. Repeat this process until all the grout is removed.
4. Clean up the area
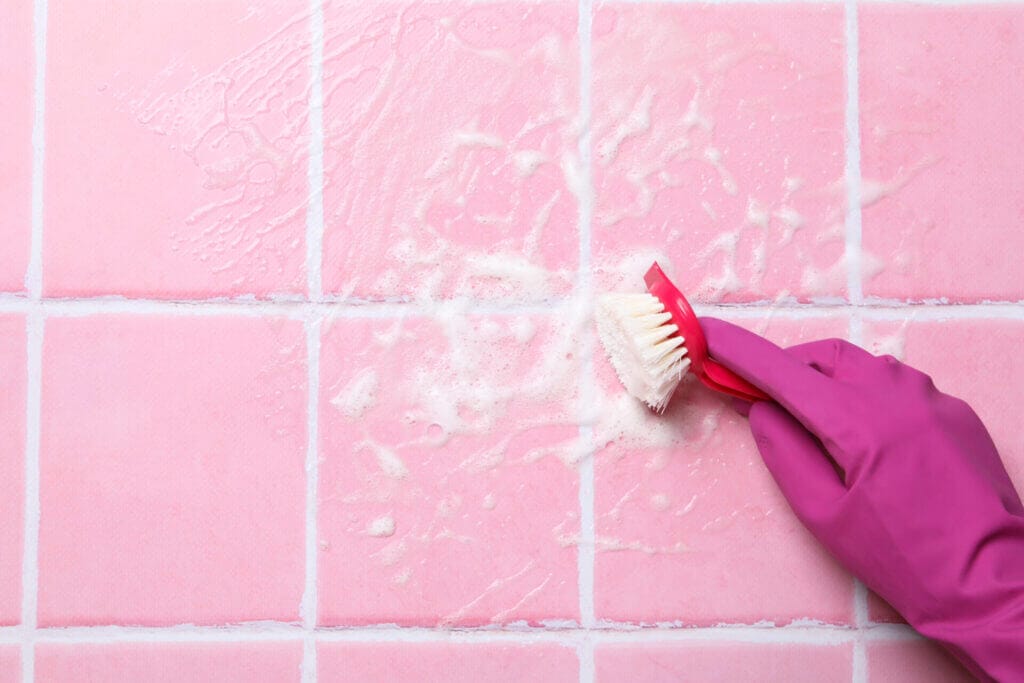
After you’ve removed the grout, use a cleaning brush or sponge to wipe away any debris or dust. You can also use a grout haze remover to clean any remaining grout residue.
5. Apply the grout whitener
Once the area is clean and dry, apply the grout whitener according to the manufacturer’s instructions. Typically, you’ll need to use a brush or pen applicator to apply the whitener to each grout line. Be sure to cover the entire line and wipe away any excess. Allow the whitener to dry completely before moving on.
6. Clean up the area (again)
After the whitener has dried, use a clean, damp cloth to wipe away any remaining residue or excess whitener. Rinse the area with clean water and dry it thoroughly.
7. Seal the tiles (optional)
If you want to protect your tiles from future damage, you can apply a tile sealer after cleaning the area. Follow the manufacturer’s instructions carefully.
Choosing the Right Grout Whitener
There are a variety of grout whiteners available on the market, each with its own strengths and weaknesses. When choosing a grout whitener, consider the type of tiles you have and the level of staining on your grout. Some whiteners are more effective on certain types of grout or may require multiple applications. Always follow the manufacturer’s instructions and test the whitener on a small, inconspicuous area before applying it to the entire surface.
Remember, not all grout whiteners are created equal. Make sure you do your research!

Whitener for Grout
Now, let’s talk about how to use whitener for grout. Here are the steps you need to follow:
Clean the grout – Before you apply the whitener, make sure the grout is clean and free of debris. Use a grout cleaner or a mixture of baking soda and water to clean the grout.
Apply the whitener – Use a small brush or a pen applicator to apply the whitener to each grout line. Be careful not to get any on the tiles themselves. Follow the manufacturer’s instructions for application and drying time.
Wipe away excess – After the whitener has dried, use a damp cloth to wipe away any excess. Be gentle to avoid removing the whitener from the grout.
Seal the grout (optional) – To protect the grout from future staining, you can apply a grout sealer. Follow the manufacturer’s instructions carefully.
A whitener for grout can be a great solution for brightening up stained or discolored grout. However, it’s important to choose the right whitener for your needs and follow the instructions carefully to achieve the best results.
Some Extra Tips and Tricks
Here are some additional tips and tricks to help you get the best results when removing and whitening grout:
Work in small sections – Removing and whitening grout can be a time-consuming process. Work in small sections to avoid getting overwhelmed and to ensure that you’re doing a thorough job.
Be gentle – When removing grout, be careful not to damage the tiles themselves. Use a light touch and work slowly to avoid chipping or cracking the tiles.
Test the whitener first – Before applying the whitener to the entire surface, test it on a small, inconspicuous area to make sure it’s the right color and won’t damage the tiles.
Use a sealer – Applying a grout sealer can help protect your newly whitened grout from future staining and discoloration.
Stay on top of cleaning – To keep your newly whitened grout looking its best, make sure to clean it regularly and wipe up spills and stains as soon as possible.
By following these tips and tricks, you can achieve bright, sparkling grout that will make your tiles look brand new.

In Summary…
Learn how to remove grout and whiten your tile’s grout with our step-by-step guide. Achieve flawless tile transformation with our expert tips at Fresh Home Cleaning.
Now that you have mastered the art of grout removal and whitening, it’s time to put your skills to the test! If you’re still struggling to achieve the flawless tile transformation you desire, consider enlisting the help of our professional cleaning services. Our team of experts can take your tile to the next level with our top-notch cleaning solutions. Contact us today to schedule a consultation and see the difference for yourself!
See more cleaning guides
A short guide to learn how to deep clean your kids room
How to clean a mattress perfectly in 8 simple steps
World Book Day 2023: How to clean your home library
How To Clean Upholstered Dining Chairs: An Expert’s Guide
How to clean stainless steel appliances like a professional
How to clean blinds and curtains: A Specialist’s Guide
How to Clean Matte Painted Walls from Top to Bottom
How to Clean Prefinished Hardwood Floors: The Definitive Guide
How to clean quartzite countertops: a beginner’s guide
How to clean your couch and make it look brand new!
How to clean your walls the right way: Tips, Tricks, and Much More!
How to clean your desk and Maintain a Healthy Work Environment
How to clean fast and efficiently every part of your house
How to clean your windows? A Step By Step Guide!
How to clean your fridge in 43 easy steps
Mastering the Art of Cleaning Carpet on Stairs: A Step-by-Step Guide
How To Clean Kitchen Cabinets In Just A Few Steps
Learn how to get rid of mold in your house to keep it fresh and clean
Cleaning Electronics 101: Everything You Need to Know
Best clean bathroom ideas: How to clean the bathroom step by step!


